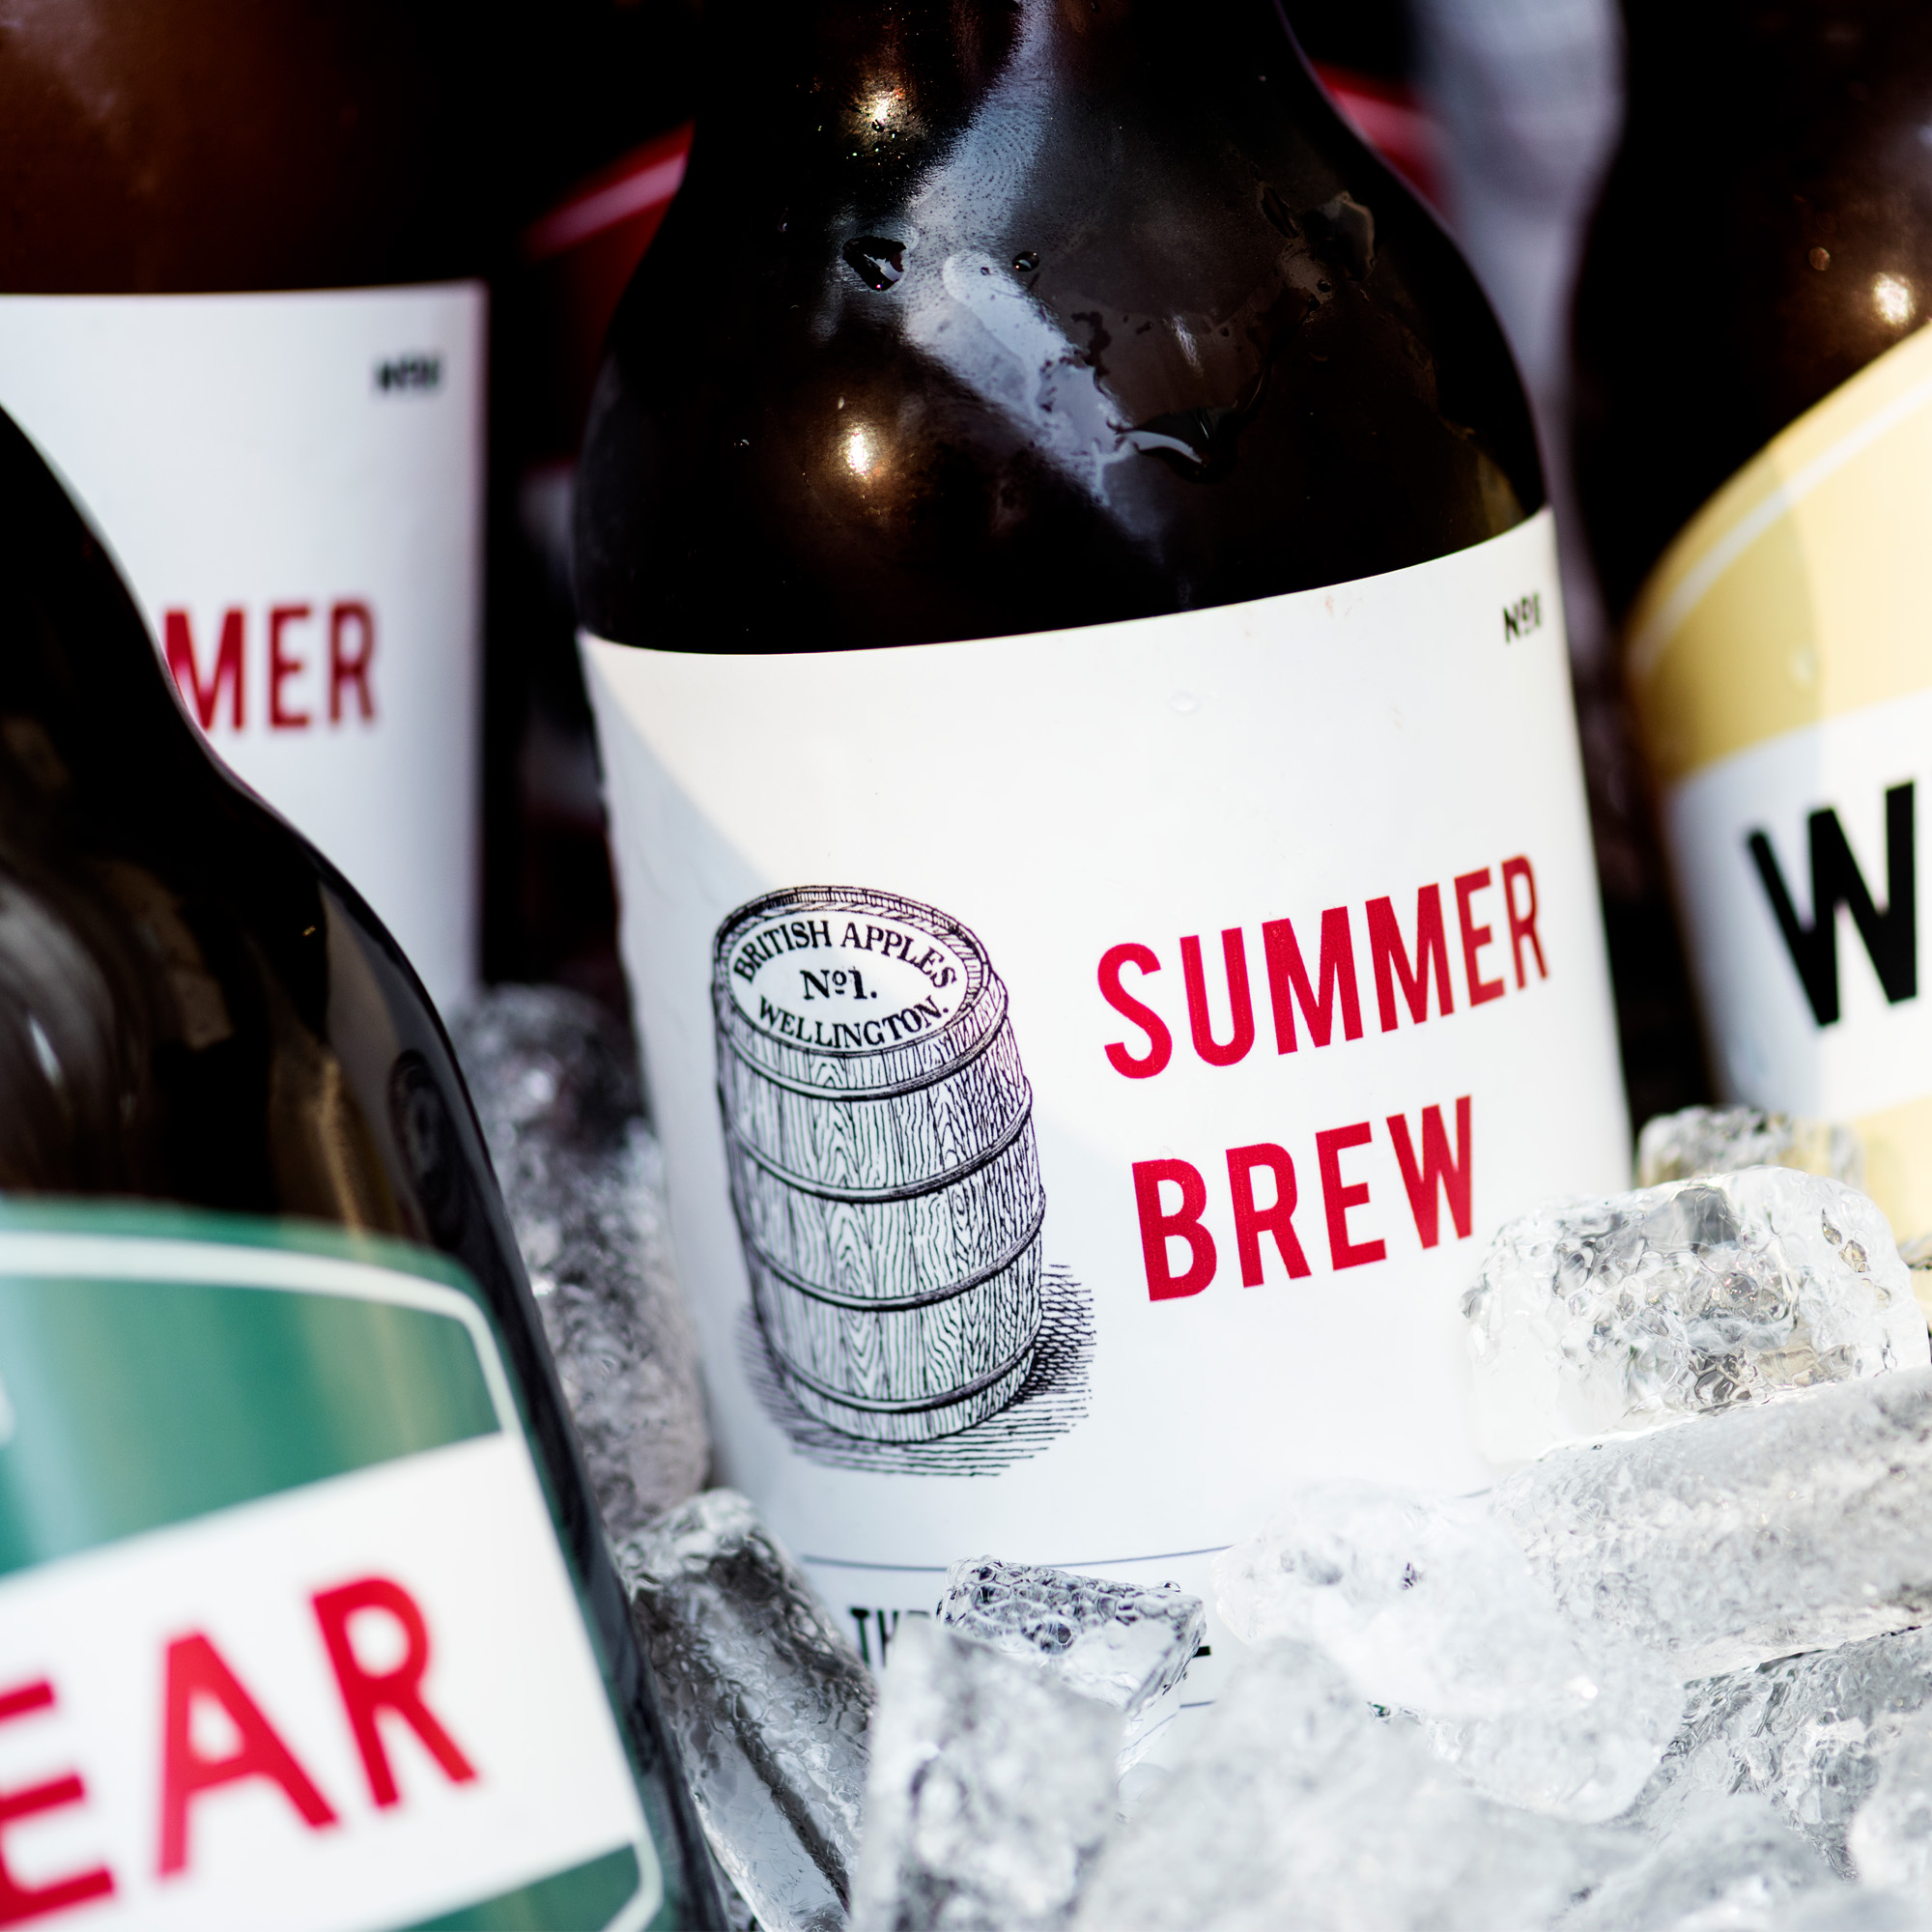
Outline Those Fonts!
Hundreds of thousands of fonts, also called typefaces, are out there. Trying to find a font, an analogous font, or manipulating a font to make a copy change/make a label more readable increases turnaround time. The simple solution: it’s called “outlining” fonts, and it’s a feature in most graphic design software. When fonts are outlined or traced, the font file associated with its respective font (.ttf, .otf, etc.) is not needed for the type to display correctly. Tracing a font converts it from a mathematical construction to a scalable series of lines and curves.
Size (and Kind) Matters
If a font is a “serif” font, you’ll notice little “flourishes” on it. It doesn’t have those embellishments if it’s a “sans-serif” font. Most block-type fonts are san-serif and vastly superior for readability, especially in small print. Masse recommends using sans-serif fonts whenever possible for label work, especially for any small print with many types. Otherwise, the type will be difficult, or even impossible, to read. Examples of serif fonts include Times Roman, Palatino, Book Antiqua, and New Century. Standard sans-serif fonts include Helvetica, Arial, Futura, and Franklin Gothic.
There’s a lot that goes into a label! Your package design is your last salesperson contact. A typical product on a shelf has about two seconds to gain a customer’s attention. So think pictures first, then big bold letters, and then tackle the fine details. What you are getting across in those few seconds of ‘first glance’ is everything. If you don’t design a label with your audience in mind and if the label is unreadable the most valuable sales opportunity could be missed.
The Tiny Serif Type Does Not ‘Reverse Out’ Well
If you decide to use a serif font and reverse it extremely small (i.e., “reverse” the type to make it white or light on a dark background), you’re going to lose detail. If you’re going to do it, we won’t go any smaller than a six-point font. If you have a sans-serif font, a block letter, it’s a lot easier on the eye and can get a lot smaller and read much more cleanly as a smaller, reversed-out font than a serif font.
Cmyk, All The Way
Some people don’t realize that printing with ink is entirely different from displaying an image on a computer with pixels. Unlike digital or online art, which is usually rendered in RGB (Red, Green, and Blue) color, quality printed materials often rely on a color system called “CMYK” (Cyan, Magenta, Yellow, and Black). CMYK is much more sophisticated and thus capable of producing a much more comprehensive range of colors. Even though a CMYK color may look close to an RGB color onscreen, it translates very differently on press. RGB colors will not print nicely in CMYK, which is our world. The colors will be dull. If your clients can “spec” CMYK colors, they will be happier. Even better than CMYK, however, is spot color printing when it’s available.
Vector Spells “Victory” For Line Art
There are many kinds of art, but we’ll deal with the two most common: “Raster” images and “Vector” images. For many label-art purposes, vector images are the best way to go. Raster images (often used to render photographs on a computer) have a set number of pixels in an image. So trying to enlarge a raster image will usually result in a blurry result all you’re doing is making the pixels bigger until, eventually, they look like squares of color. Vector images, which have been drawn or converted to mathematical calculations between each point in an image, are entirely scalable. Simply put, vector images are much easier to enlarge, shrink, or edit than raster images and produce a sharp, “non-jaggy” result every time.
Resolution: At Least 300dpi
The digital revolution has completely blurred peoples’ understanding of resolution. Plain and simple, there’s a vast difference between how something looks on screen and how it looks printed on label stock. While online materials are rendered at resolutions of 72-150 dpi (dots per inch) for fast uploading and display, print materials suffer terribly at 150 dpi. If you want crisp, precise art, text that’s easy to read, and images that truly pop, check your supplied art’s document settings to ensure its resolution is at least 300 dpi at actual print size. If the art is enlarged, the dpi reduces. For example, if a customer sends a 1″ x1″ art file at 300 dpi and enlarges it to 3 x3″, the dpi plummets with the enlargement.

